 A dedicated sound booth can dramatically improve the quality of a vocal recording. And to someone just starting out at home recording, whether for podcasting or music, sound booth time can seem like an expensive or difficult thing to get. However, if you’re handy with some basic tools and have an idea of what’s needed, it’s not that hard to put up some cheap soundproofing in a small space for impressive results.
Like any DIY project, you’ll want to start by thinking ahead and doing some planning. What kind of recording will you be doing? Will the vocalist be doing long sessions? Where will the actual recording equipment go, and how will you route the cables in and out of the booth?
Remember that these are your humble beginnings, and trying to include too many features may overwhelm the project, making it difficult to finish. Start simple…you can always improve it later. For example, you may want a window into the booth to provide some visibility between the sound engineer and the vocalist. But installing and soundproofing that type of setup may be a lot more effort (and money) than you really need for a good start.
Gimme a Little Space
Ok, so let’s start talking specifics of how to make a sound booth. First you will need a dedicated space for this, but maybe not as much space as you might think. Particularly if it’s only for one person, a closet or alcove can be perfect. You really just need room for the artist, the microphone and cables, a place for lyric sheets or notes, lighting, maybe a small fan to help keep the booth cool during long or energetic sessions, along with the padding and soundproofing.
Don’t have a spare closet or similar space? Look at partitioning off a corner of the room. You might even find a way to easily take the partition walls down when not needed, freeing up the space for other uses. (We’ve seen old office cubicle walls repurposed for a this type of vocal booth.)
The basic principle involved is surrounding and isolating the vocalist in a space lined with soft, absorbent materials, or those that have uneven or rough and chaotic surfaces, not hard, flat, or reflective ones. Carpets (the shaggier the better), foam padding, pleated curtains, or egg cartons all work well. These are all easily obtainable and cheap (although it may take a while to eat all those eggs).
Of course, if you want to add a bit more of a professional look to your space, acoustic foam panels are fairly inexpensive. These panels are typically 1″ thick, so they will also save you some precious space if working with a small conversion area.
12 Pack- Acoustic Panels Studio Foam Wedges 1" X 12" X 12"
- Each WEDGE comes uncompressed and in prime condition! The Wedges in the photo will be exactly what you get.
- Great for spot treating walls in your studio or office - For use in recording studios, control rooms, Offices home studios, home entertainment theaters, Home Offices
$ 25.05
 amazon.com
- Each WEDGE comes uncompressed and in prime condition! The Wedges in the photo will be exactly what you get.
- Great for spot treating walls in your studio or office - For use in recording studios, control rooms, Offices home studios, home entertainment theaters, Home Offices
- 12 Pack covers 12 square feet - Each tile is 1 square foot of 1 inch thick acoustic wedge
- For professional acoustic control - Reduce waves, reverb and flutter echoes in smaller to medium sized rooms.
- MADE IN USA - Fire Retardant: CA Technical Bulletin 117


Grab Your Things
Now that you have the planning out of the way, time to gather your materials and tools. If you’re converting a pre-existing space, you might be able to just use a staple gun or hammer and nails to attach the foam rubber. On the other hand, actually cutting out plywood planks to create a free-standing booth means saws and more.
 The amount of cheap soundproofing depends on the size of your space. A standard egg carton, that holds a dozen eggs, when open and laid out, measures about 12″ by 8-1/2″ (30.5 cm by 21.6 cm), 12″ by 9-1/2″ (30.5 cm by 24.15 cm) if you include the tabs that hold the carton shut. If you put the nails/staples through the tabs to hang them and overlap them, it would take just over 11 cartons to cover a wall from 8′ ceiling to floor. For all four walls, if the booth is about 2′ square, you’ll need a total of 44 egg cartons.
Don’t forget the door, ceiling, and floor. However, for the top and bottom, you may just get away with carpeting or foam, rather than a surface that will baffle the sound. Thick blankets, or hanging curtains with lots of pleats, also work well.
Assembly Required
Again, the details of construction will depend on the space you’re using, but the basics of putting it all together are simple and straightforward. First, start by mounting any brackets, mic or headphone stands, lights, a small fan for cooling, or permanent cabling. Then cut any holes for cables. Lastly, install the soundproofing, again with the eye towards being able to access the cables or brackets in the event you need to get at them.
Cover every flat surface in your booth. Don’t include any flat or smooth materials. If you have holes for cables and wires, make sure that they are just the right size for the cables and do not leave any room for sound to enter; stuff them with foam to baffle them if you can.
Be sure to allow for the door to be opened, and that opening and closing the door doesn’t disrupt your soundproofing. If you’re using an alcove, measure the partition you’ll use to close it off so it fits snugly, top to bottom, and is easy to replace or remove.
Special Consideration Provided By…
Since this is a DIY project, your sound booth isn’t going to be the equal of a pro-level installation, where the floor may be acoustically isolated and muffled, or with an intercom system for communicating with the soundboard. Still, there are some nice, easy considerations that don’t take a lot of effort but pay off the more home recording you do.
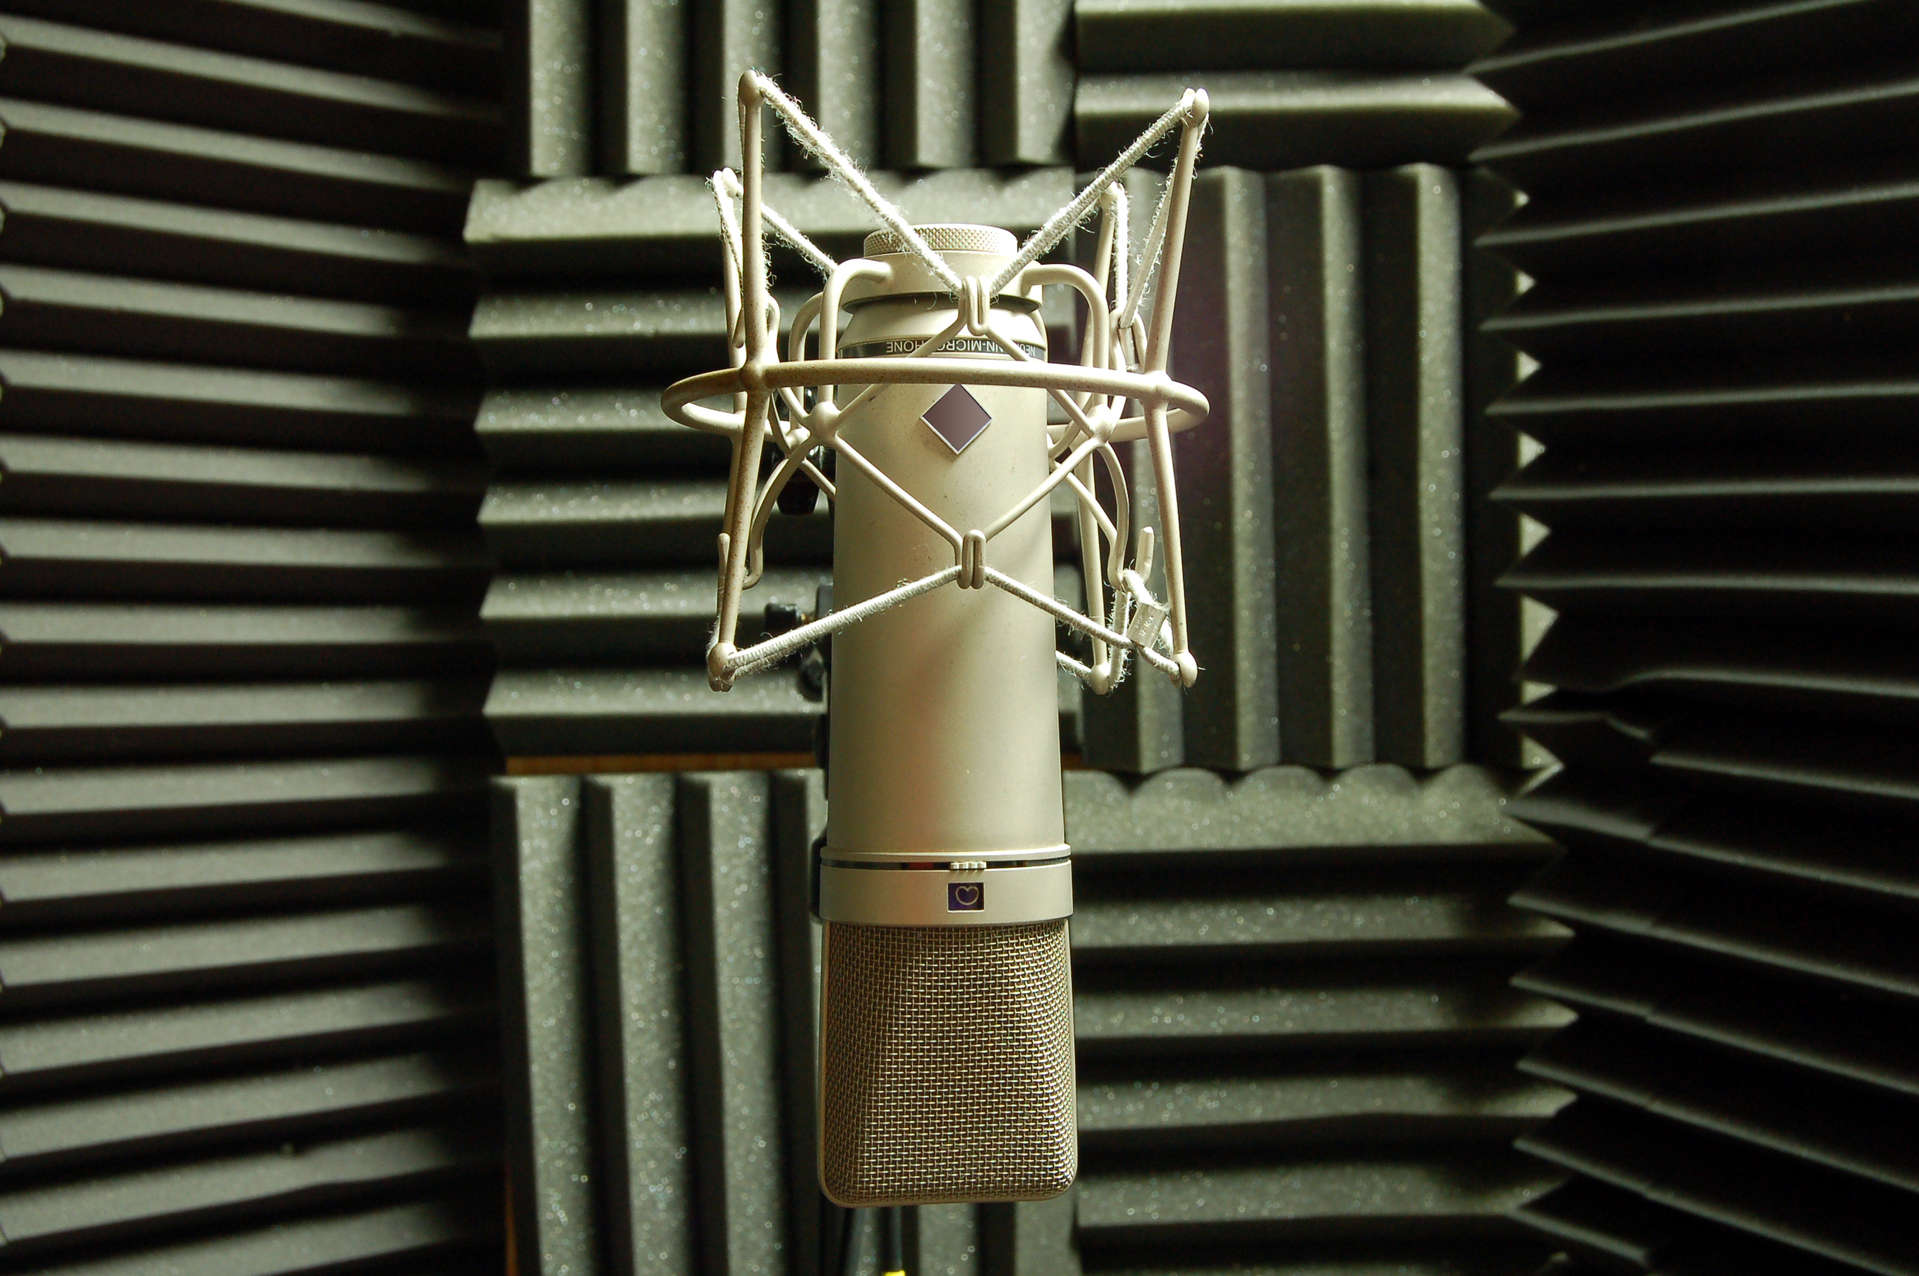
A free-standing mic stand is easier, but it’s vulnerable to being bumped, as anyone with some experience in recording can attest. Including a shock mount for your mic in the booth is a simple touch that can help you produce great recordings. Likewise with a headphone hook.
If you do install a small fan for the comfort of the vocalist, don’t aim it near the mic, and make sure it’s small and quiet enough not to interfere with the recording. You don’t want the extra noise to make its way into your final product.
And That’s How to Make a Sound Booth…Your Personal Cone of Silence
Having access to an isolated room for home recording, even one as simple as we’ve outlined here, can aid tremendously in adding a new level of quality to your recordings. Whether it’s for music vocals, podcasting, audiobooks, or voice-overs, you’ll start to see the benefits immediately. (And by having done it yourself, you’ll appreciate it that much more.)
But enough reading! Now that you know how to make a sound booth, it’s time to get started and build it!
